Prototyping a Tiny DIY Train Controller
Let's Get Rolling
Due to some embarassingly impulsive late night purchases on Ebay, and my children's occasional clumsiness, I have a small but growing collection of model engines that don't run very well. To figure out what's wrong, I need to get them on a rolling road. DCC Concepts make a nice 8-axle Multi-Gauge Rolling Road, but how best to power it on a workbench?
Requirements:
- DC speed control, 0-9V @ 0.5A. (Full 12V would be nice but is not needed for typical rolling road duties like diagnosis, testing, and running in.)
- Direction switch.
- Small and portable, for when the workbench goes on tour.
I was quite tempted by the tiny Kato Pocket Line Controller, but this maxes out at 5V, which is nowhere near enough for testing DCC models on analog. Probably the smallest commercial controller that could do the job is the Gaugemaster Combi Single Track but this requires 18V input from a bulky wall-wart transformer. The Default Bachmann Train Controller would be another option, but its direction switch is hateful and it's too big.
DIY Prototype
Power Source
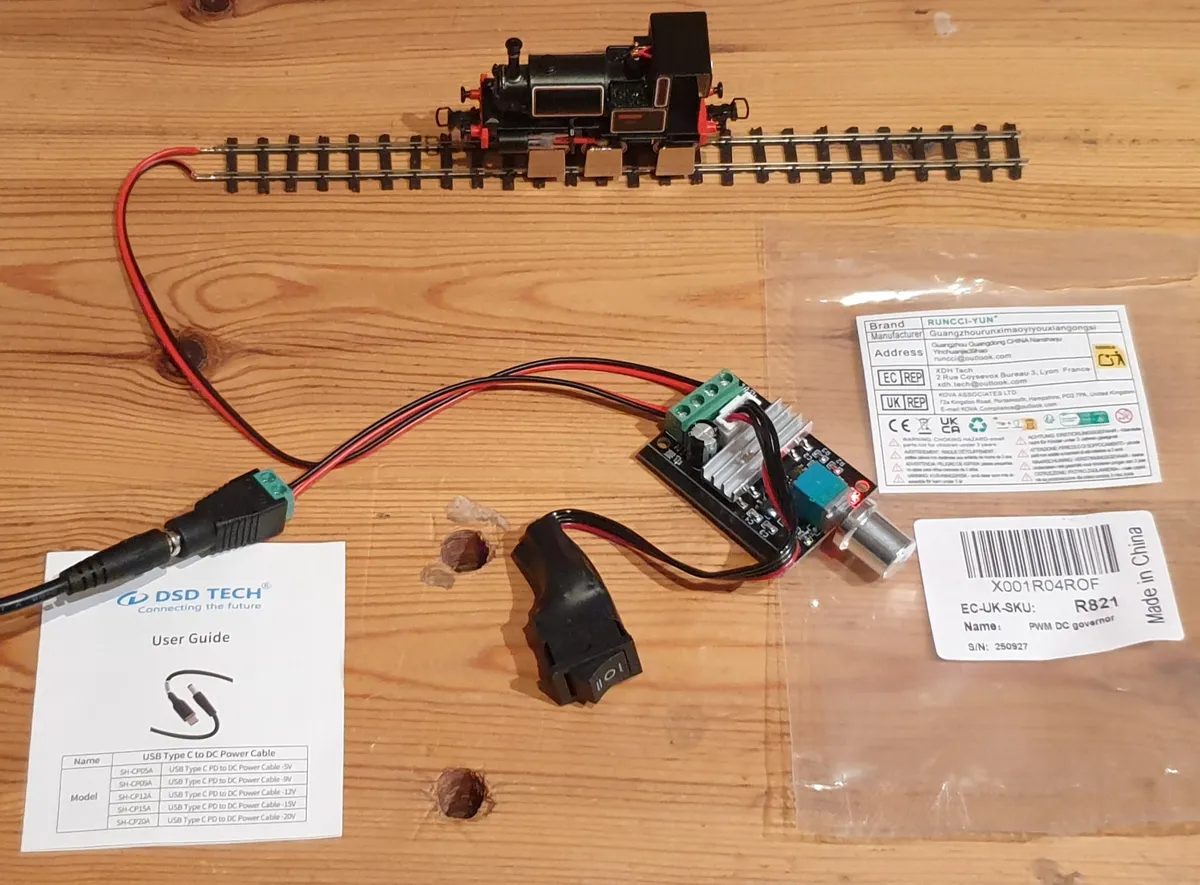
First I need a 12V DC power source. I'd rather reuse an Anker USB-C PD charger that I already have than carry around a specific 12V power supply. The PD charger can output DC at many different voltages, all that's needed is a trigger cable to demand the required 12V, and this one has a standard 5.5mm x 2.5mm plug at the other end which is ideal.
PWM Controller
Now to convert the 12V DC into 0-12V I need a PWM controller. Fortunately there's a wide choice of ready-made generic PWM motor controllers available so I don't need to build one. This one accepts the full PD 3A and comes with screw terminals therefore I'm less likely to accidentally melt it.
Result
With some feeder wire crudely crimped into the ends of two track joiners, then these fitted to a short length of 009 flexi track, the rolling road is rolling nicely:
Oh look, there's a Youtube tutorial covering the exact same thing here, with a 3D printed case too.